How to write case sensitive selectors in UiPath
A brief guide on how to write case sensitive selectors in UiPath
Webpages are susceptible to changes. This implies differences in the appearance and design (code). Although this could be great for SEO and staying relevant, this is a red flag for automation.
A minor change in the target web app such as varying ID/class names, changes in anchor elements, or even the casing of text in attribute's value can cause the robots to identify the UI element and eventually fail.
Therefore, in this article, let us go over one such pitfalls and learn how to write case sensitive selectors using UiPath.
I'm going to explain the topic using an example so, it is easier to understand.
➡️ Consider a web element which can be susceptible to changes - the menu options in the nav-bar of popular news website.

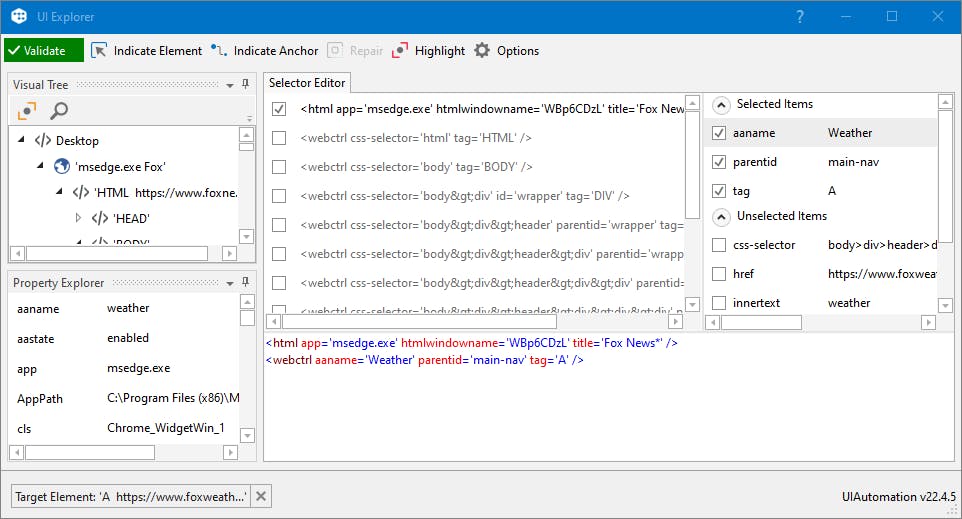
In this site, let us spy on the Weather option from the nav-bar. The below is the validated selector viewed through UiExplorer.
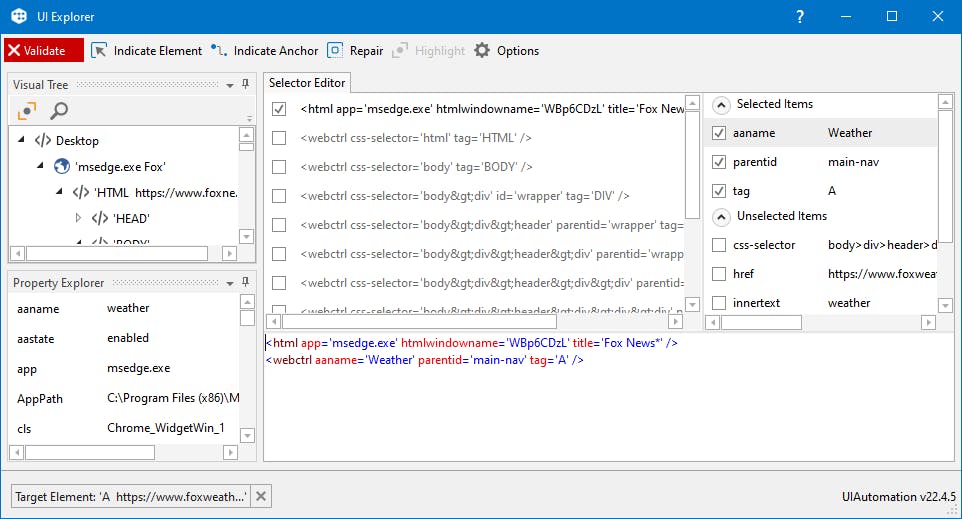
If the attribute value for aaname changes to lower case, the selector won't validate anymore as they're case sensitive. The below is the validated selector viewed through UiExplorer.
⌨️ Note: I've used the Inspect Element option to change the text to lower case.

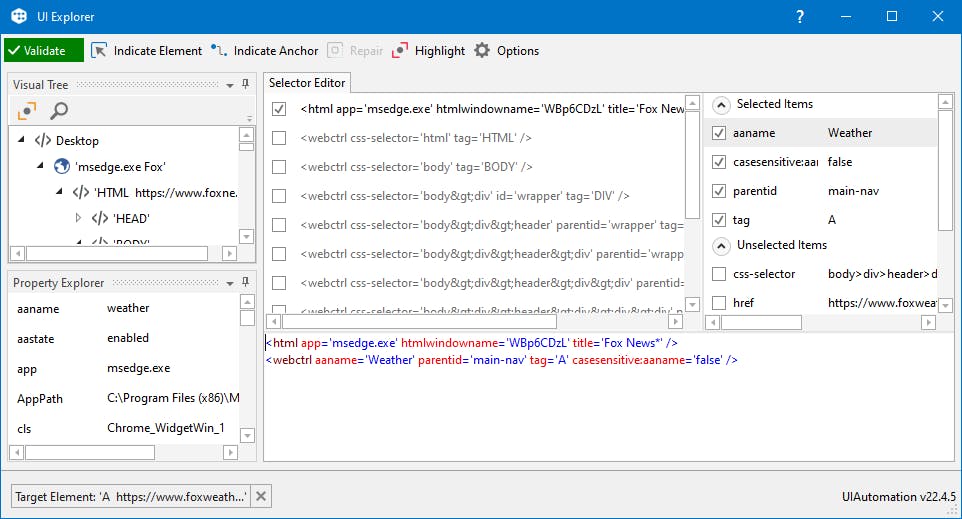
By incorporating a small change in the existing selector, this issue can be eluded. The syntax goes as below:
casesensitive:<attribute-name>='false'
This expression changes the case sensitivity of the text for the given attribute name. By default, this is set to true. The selector now validates to match the case-sensitive text for the aaname attribute.
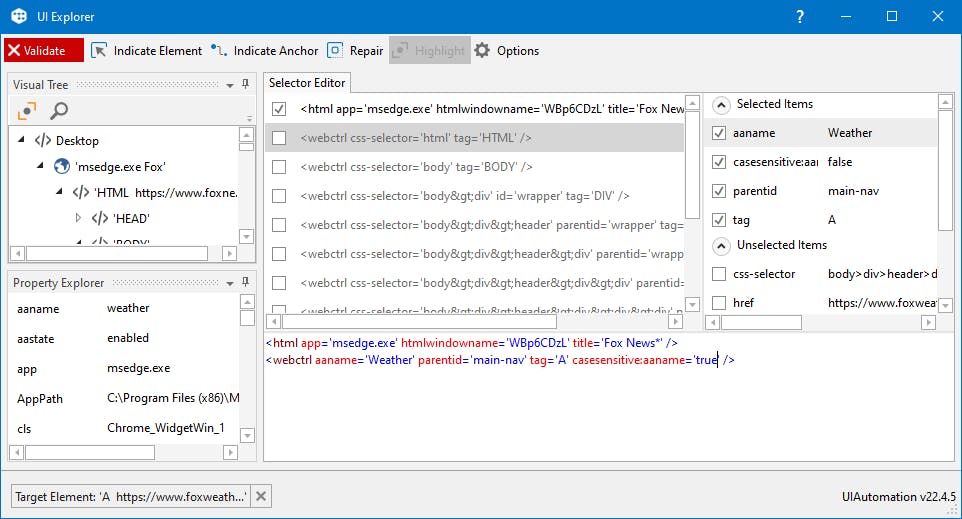
If this is set to true again, the selector does not validate again. Pretty cool, huh?
This summarizes our article on case sensitive selectors and the next time you're building a web automation project, you know what to do! 🙌
Thanks for reading the article. Please give it a like and share it with your friends. Got any questions? Let me know!
Cheers 👋


